In the first part of our blog series exploring the ideal innovation pathway, we looked at the proof of concept (POC). We explored what POCs are, when you should create one, and the outcomes you’re after.
The next stage in your journey will typically be the prototyping phase.
What is a prototype?
If your POC has shown that your idea is technically and commercially feasible, then the prototype is where you start shaping how the product or service will actually work. Prototyping typically has two main goals. Firstly, it’s to test and validate a design with real users, to ensure it meets the business requirements. Secondly, if access to further funding or signoff is reliant on demonstrating the product or service will achieve certain goals, prototypes enable you to do this.
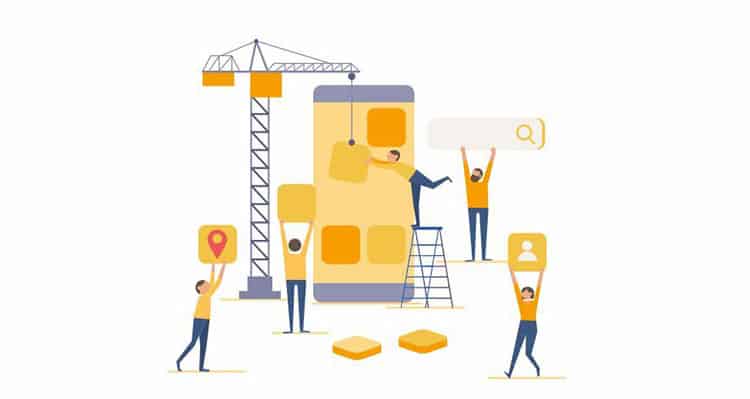
During prototyping, you mock up parts of the user experience, gather feedback and then refine them. Prototypes can be anything from paper sketches, through ‘lo-fi’ digital mockups, to detailed digital designs. The latter can be shown to sponsors and given to developers to build the final product or service.
You don’t necessarily need to prototype your entire product or service in the first instance. Focus initially on the key user journeys. As you move through the prototyping process, you’ll gradually prototype more of the solution, until such time as you have it in its entirety.
Why prototyping will save you time and money
Convincing organisations to prototype their product before building it can sometimes be a challenge. We often see customers with clear ideas of what they want their product or service to do. And because they’re under time and/or budgetary pressure, they just want to crack on with development.
The thing is, no matter how sure you are about how you think your product or service should work, unexpected things happen when you put it in your customers’ hands.
They may not use it the way you’d anticipated. They may try to make it do things you hadn’t even considered. They might find it confusing or frustrating. Or something we haven’t even thought of here could happen.
In any of these cases, you’ll want to refine your designs. If that involves tearing up a paper sketch and drawing a new one, the time and money involved is minimal. Conversely, if you’ve already fully coded your product, making a change is much more time-consuming and costly.
This is why prototyping is so valuable, because it generally saves you both time and money, by enabling you to pinpoint and rectify problems with your proposed service when the cost of change is low.
What makes a successful prototyping phase?
To achieve these aims, you need to structure and run your prototyping phase carefully. We’ve put together some key learnings below to help you make it a success.
Collaboration
The first must-have is collaboration between your user experience designers, developers and the business owners of the product.
Designers must understand the technical implications of what they’re creating. A feature may be very complex to develop. If the designer knows this, they can judge whether it justifies the effort. Equally, a developer needs to understand why they’re being asked to create a particularly complex feature, or the importance of why something has been designed in a certain way.
For the product’s business owners, the prototyping stage is a great way to see where and how their initial ideas and preconceptions might need to evolve, to create something users are going to love. Having them involved throughout will help them understand why the final prototypes ultimately take the form they do.
Test with actual users
Wherever possible, put your prototypes in the hands of the actual people who will be using the product – generally in line with the personas you’ll have identified as part of your discovery. If you don’t have access to your actual users, appoint proxy users to test on their behalf.
Testing needs to be carefully planned if you’re to get valuable results. Define what you want to achieve with each round of testing, and know who you’re testing with. This will help you tailor your approach accordingly.
Make sure you also include the business owners in this process: while they may not be the actual users, their involvement helps secure essential buy-in to what you’re creating.
Go through several iterations
It’s best to start prototyping with paper or lo-fi digital sketches. At this stage, you should expect to be making a lot of changes to the design, so it’s important to work in a medium where this is quick and cheap to do.
Review the feedback you get, make some alterations, and test again to see if you’ve addressed the issue. As you move through the process, you should be seeing fewer things arise – or at least the severity of the issues reducing. You’ll also want to increase the detail in your prototypes as you progress.
Give your developers detailed prototypes to work with
You want to ensure the time you’ve spent refining your prototypes – from the overall user journeys down to some of the granular details of how pages display and behave – is reflected in the product your developers build.
This is where your detailed digital wireframes come in. These designs should include what content goes on each page, where it sits, as well as details about its styling and how components behave. Developers will typically use them in combination with a style guide or design system, to start coding the production product or service.
What comes next?
Once you’ve refined your designs to a point you’re happy with, you’ll typically be showcasing it to your sponsors or investors to unlock approval or investment for the next stages of the innovation process: the pilot and minimum viable product (MVP). We cover these in our next blog in the series.


